Announcement
Hello everyone,
After a long period of development, I am excited to announce the release of a very special software that holds great personal significance to me. Originally, I created this software for my own use and later decided to make it available for everyone. For that, I apologize for any errors you may encounter or delays you may have experienced.
Allow me to introduce Dan Winter Software for the Heart, designed specifically for Windows. This software operates directly on your computer, enabling real-time signal processing of your heart’s data. Similar software typically comes with a hefty price tag, but I am delighted to offer this to you completely free of charge. This software, along with its comprehensive suite of tools, has been tailored exclusively to serve one purpose: Dan's ideas.
Dan's vision and extensive work on understanding the heart have been the driving forces behind the creation of this software. I developed it specifically to analyze the golden ratio and facilitate the practice of incorporating this concept into your daily life.
I want to make it clear that I independently developed this software and subsequently sought approval from Dan and his team for its release to the public. I am incredibly grateful to them for granting their endorsement.
For those interested, I have a few prebuilt heart monitors for sale and can build more if needed. Check the link below if you would like one. Alternatively, if you prefer a do-it-yourself approach, I provide you with a list of parts required for assembly.
Thank you all for your support and patience throughout this process. I am excited to share this software with you and hope it brings you closer to embracing the beauty and wisdom of the golden ratio.
With LoPhi, Nicholas Frigge
Youtube Video: Watch here
Features
-
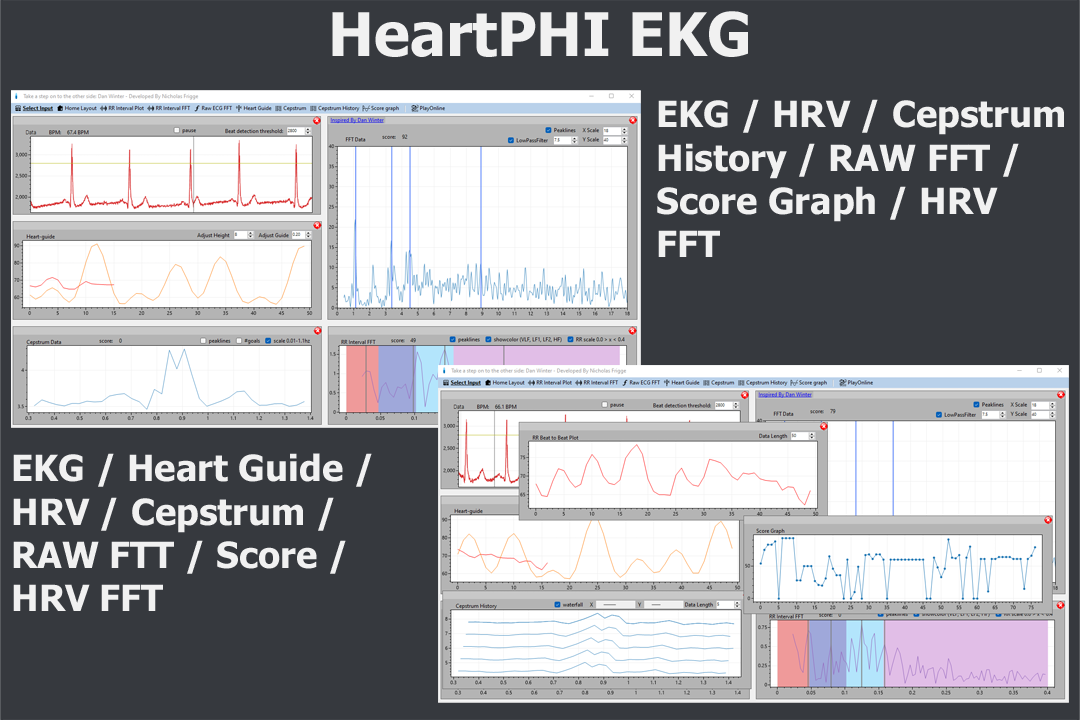
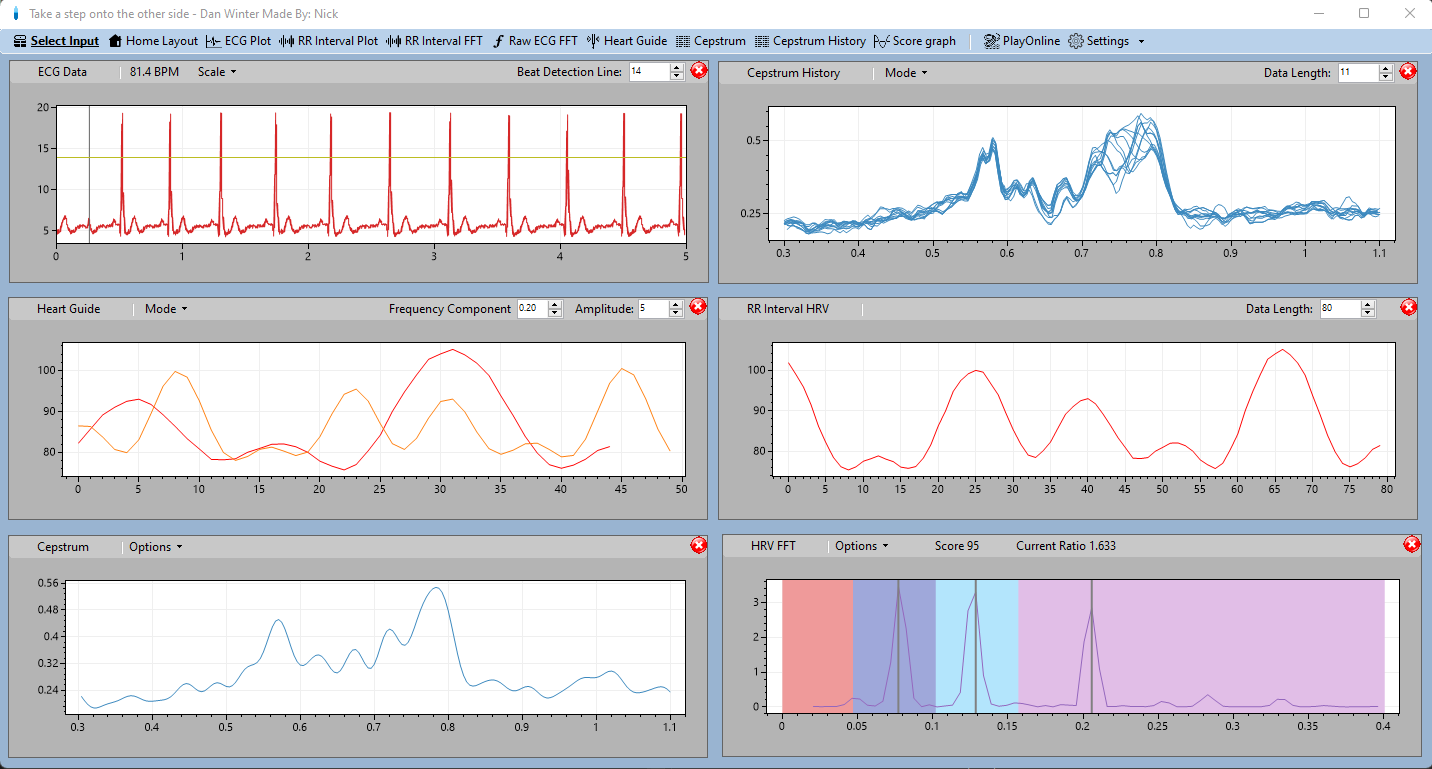
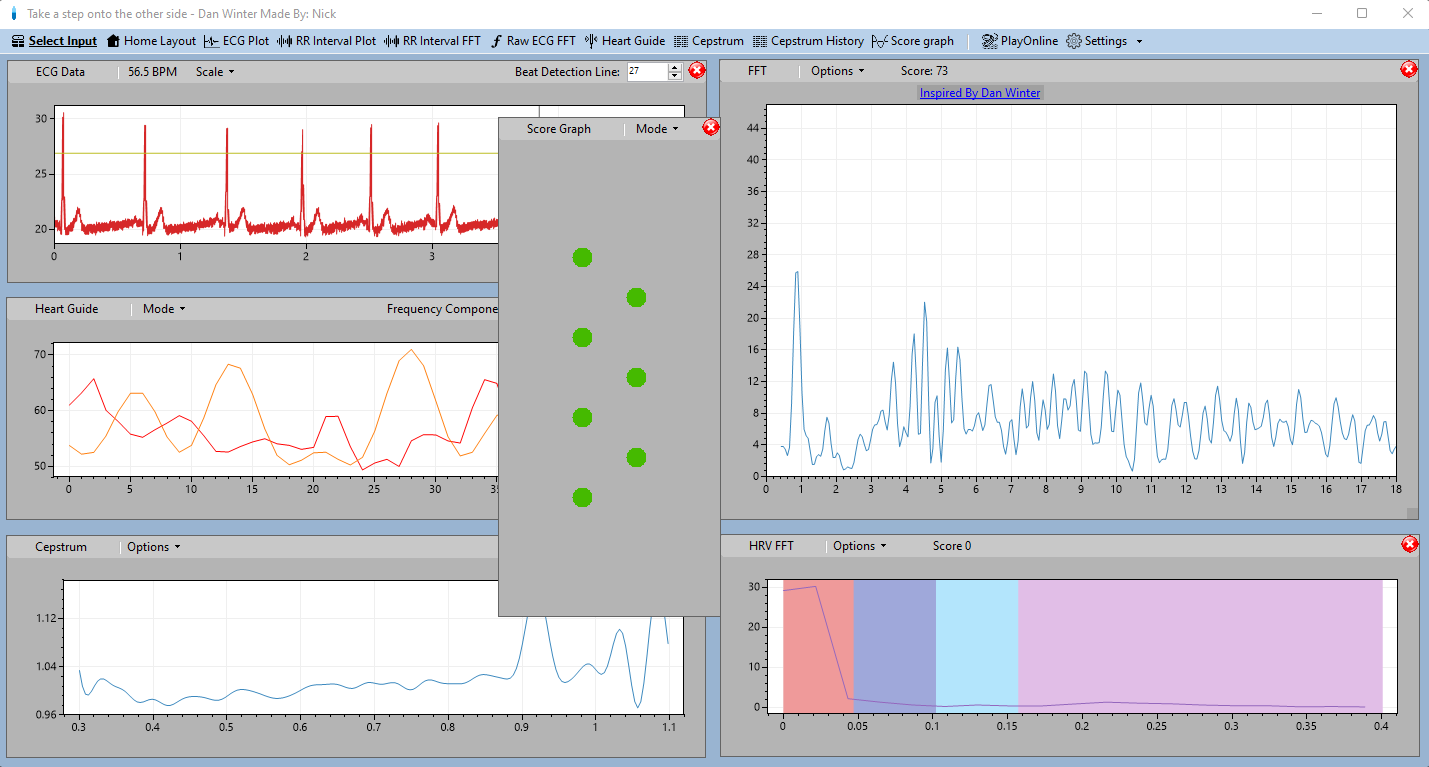
All Feature screenshots

-
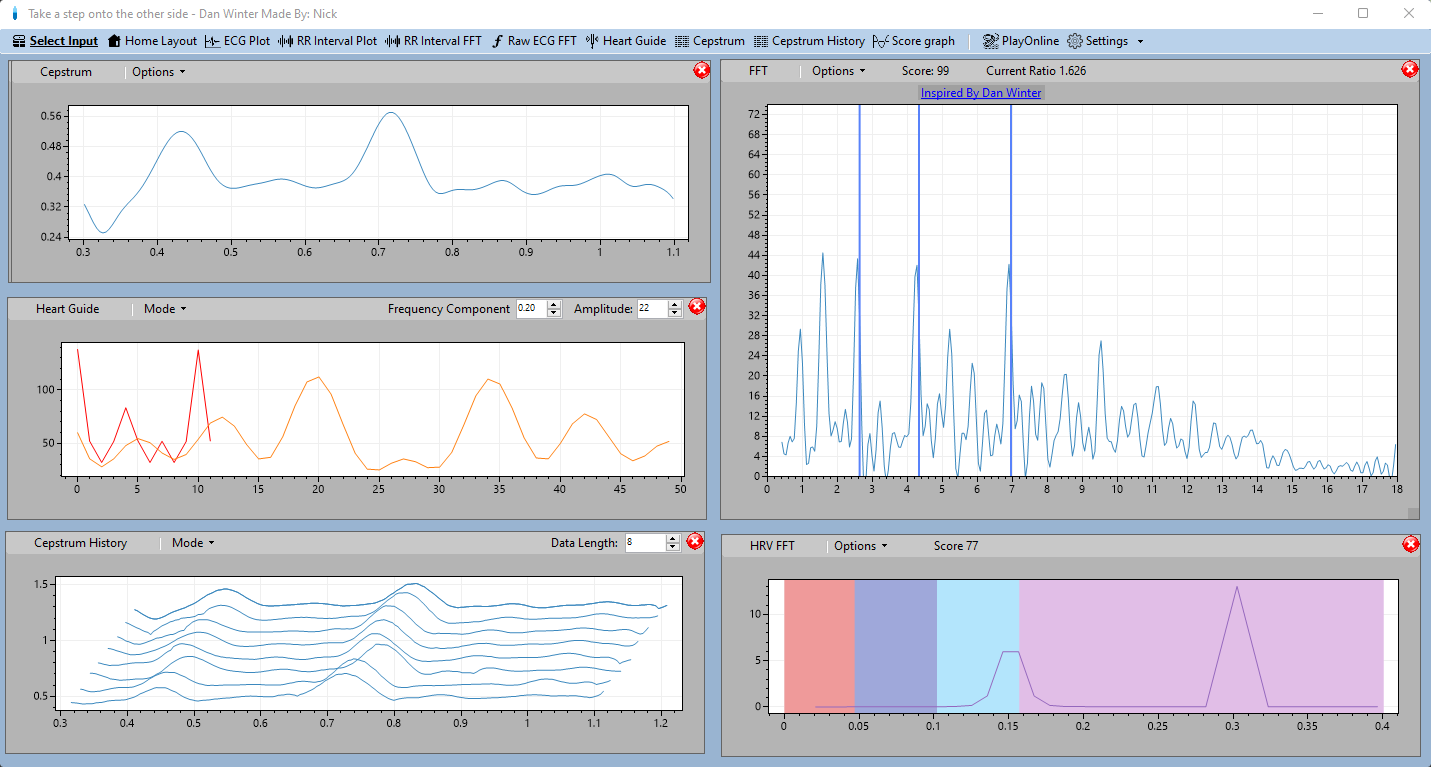
“Perfect” score screenshots
-
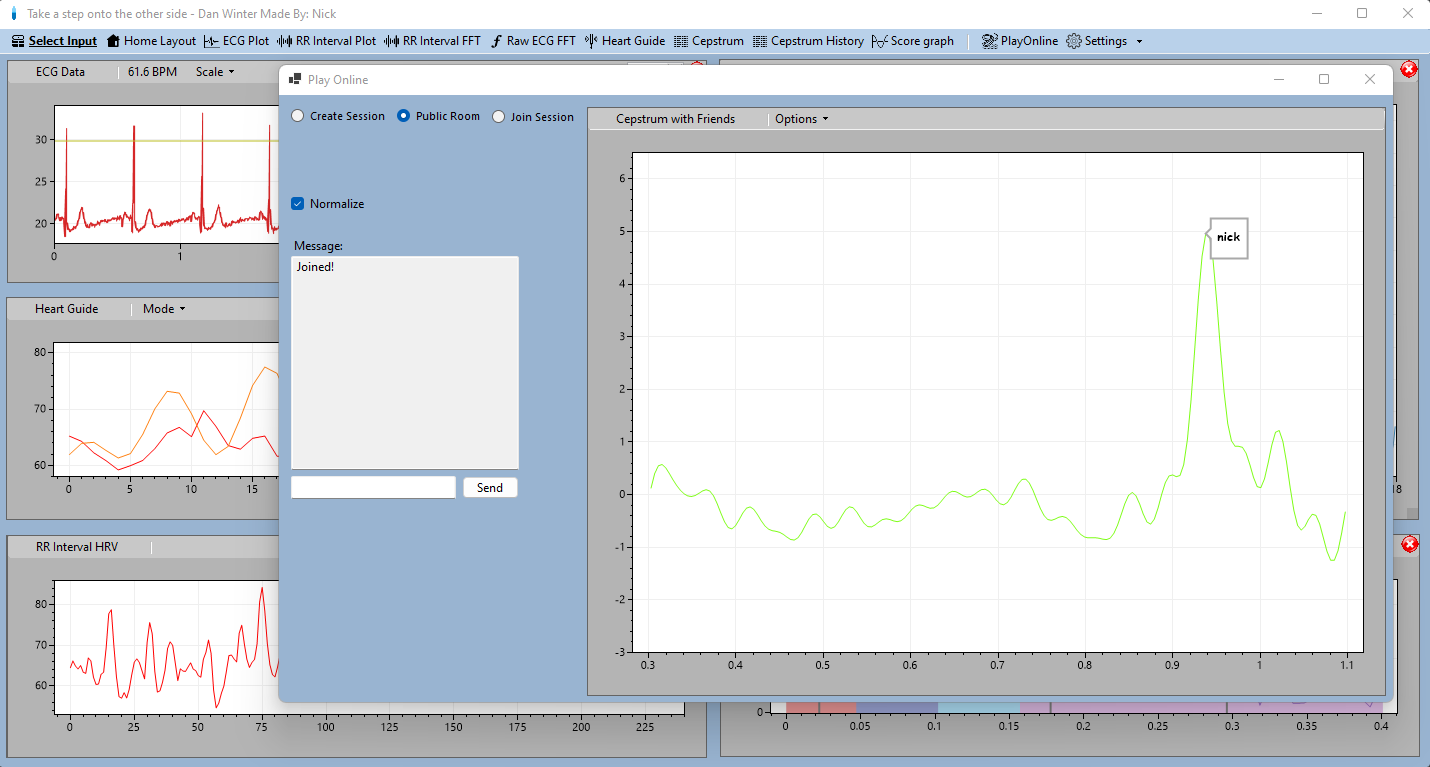
Online Feature
-
Example with game screen
Build it Yourself Hardware Guide
Setting Up the AD8232 Heart Monitor Board with ESP32: A Step-by-Step Guide
-
Gathering Your Components
- ESP32 microcontroller (any variant should suffice).
- AD8232 Heart Monitor Board.
- USB cable (either USB-C or USB Micro, depending on your ESP32 model).
- Breadboard and jumper wires (if needed for your setup).
-
Wiring
The AD8232 Heart Monitor Board requires three connections to the ESP32:
- VCC: Connect this to the 3.3V output pin on your ESP32.
- GND: Attach this to the ground (GND) pin on your ESP32.
- Output: Link this to an analog input (ADC) pin on the ESP32. (Note: Adjust the pin number in your code to match the pin you connect to.)
-
Setting up the Arduino IDE
Before proceeding, ensure you have the Arduino IDE installed on your computer. If not, download it from the Arduino website and install it.
-
Installing ESP32 Board Support
- Launch the Arduino IDE.
- Navigate to File > Preferences.
- In the "Additional Boards Manager URLs" field, add the following URL: https://dl.espressif.com/dl/package_esp32_index.json
- Click OK.
- Next, go to Tools > Board > Boards Manager.
- Search for "esp32" and install the ESP32 board package.
- From the Tools > Board menu, select your ESP32 board variant that matches your device.
-
Uploading the Code
Now, let's adapt the provided Arduino code to accommodate different GPIO pins for various ESP32 models. Replace '4' in the line Serial.println(analogRead(4)); with the pin number you intend to use.
void setup() {
    // put your setup code here, to run once:
    Serial.begin(115200);
    //set the resolution to 12 bits (0-4096)
    analogReadResolution(12);
}
void loop() {
    // put your main code here, to run repeatedly:
    if (Serial.available() > 0) {
        int incomingByte = Serial.read();
        if (incomingByte == 67) {
            // replace 4 with your ADC GPIO Pin
            Serial.println(analogRead(4));
        }
    }
}
Upload this modified code to your ESP32 using the Arduino IDE.
Embrace the journey into the realm of heart health and technological innovation with this setup. Feel free to immerse yourself in the captivating fusion of hardware and software as you explore the intricacies of the human heart and its connection to cutting-edge technology.
Links
Purchase Hardware & Donate: https://metacafebliss.square.site/
Download: http://metacafebliss.com/Ecg/Download.zip
*Note: This software requires .NET Desktop Runtime installed on your computer. Download .NET Runtime